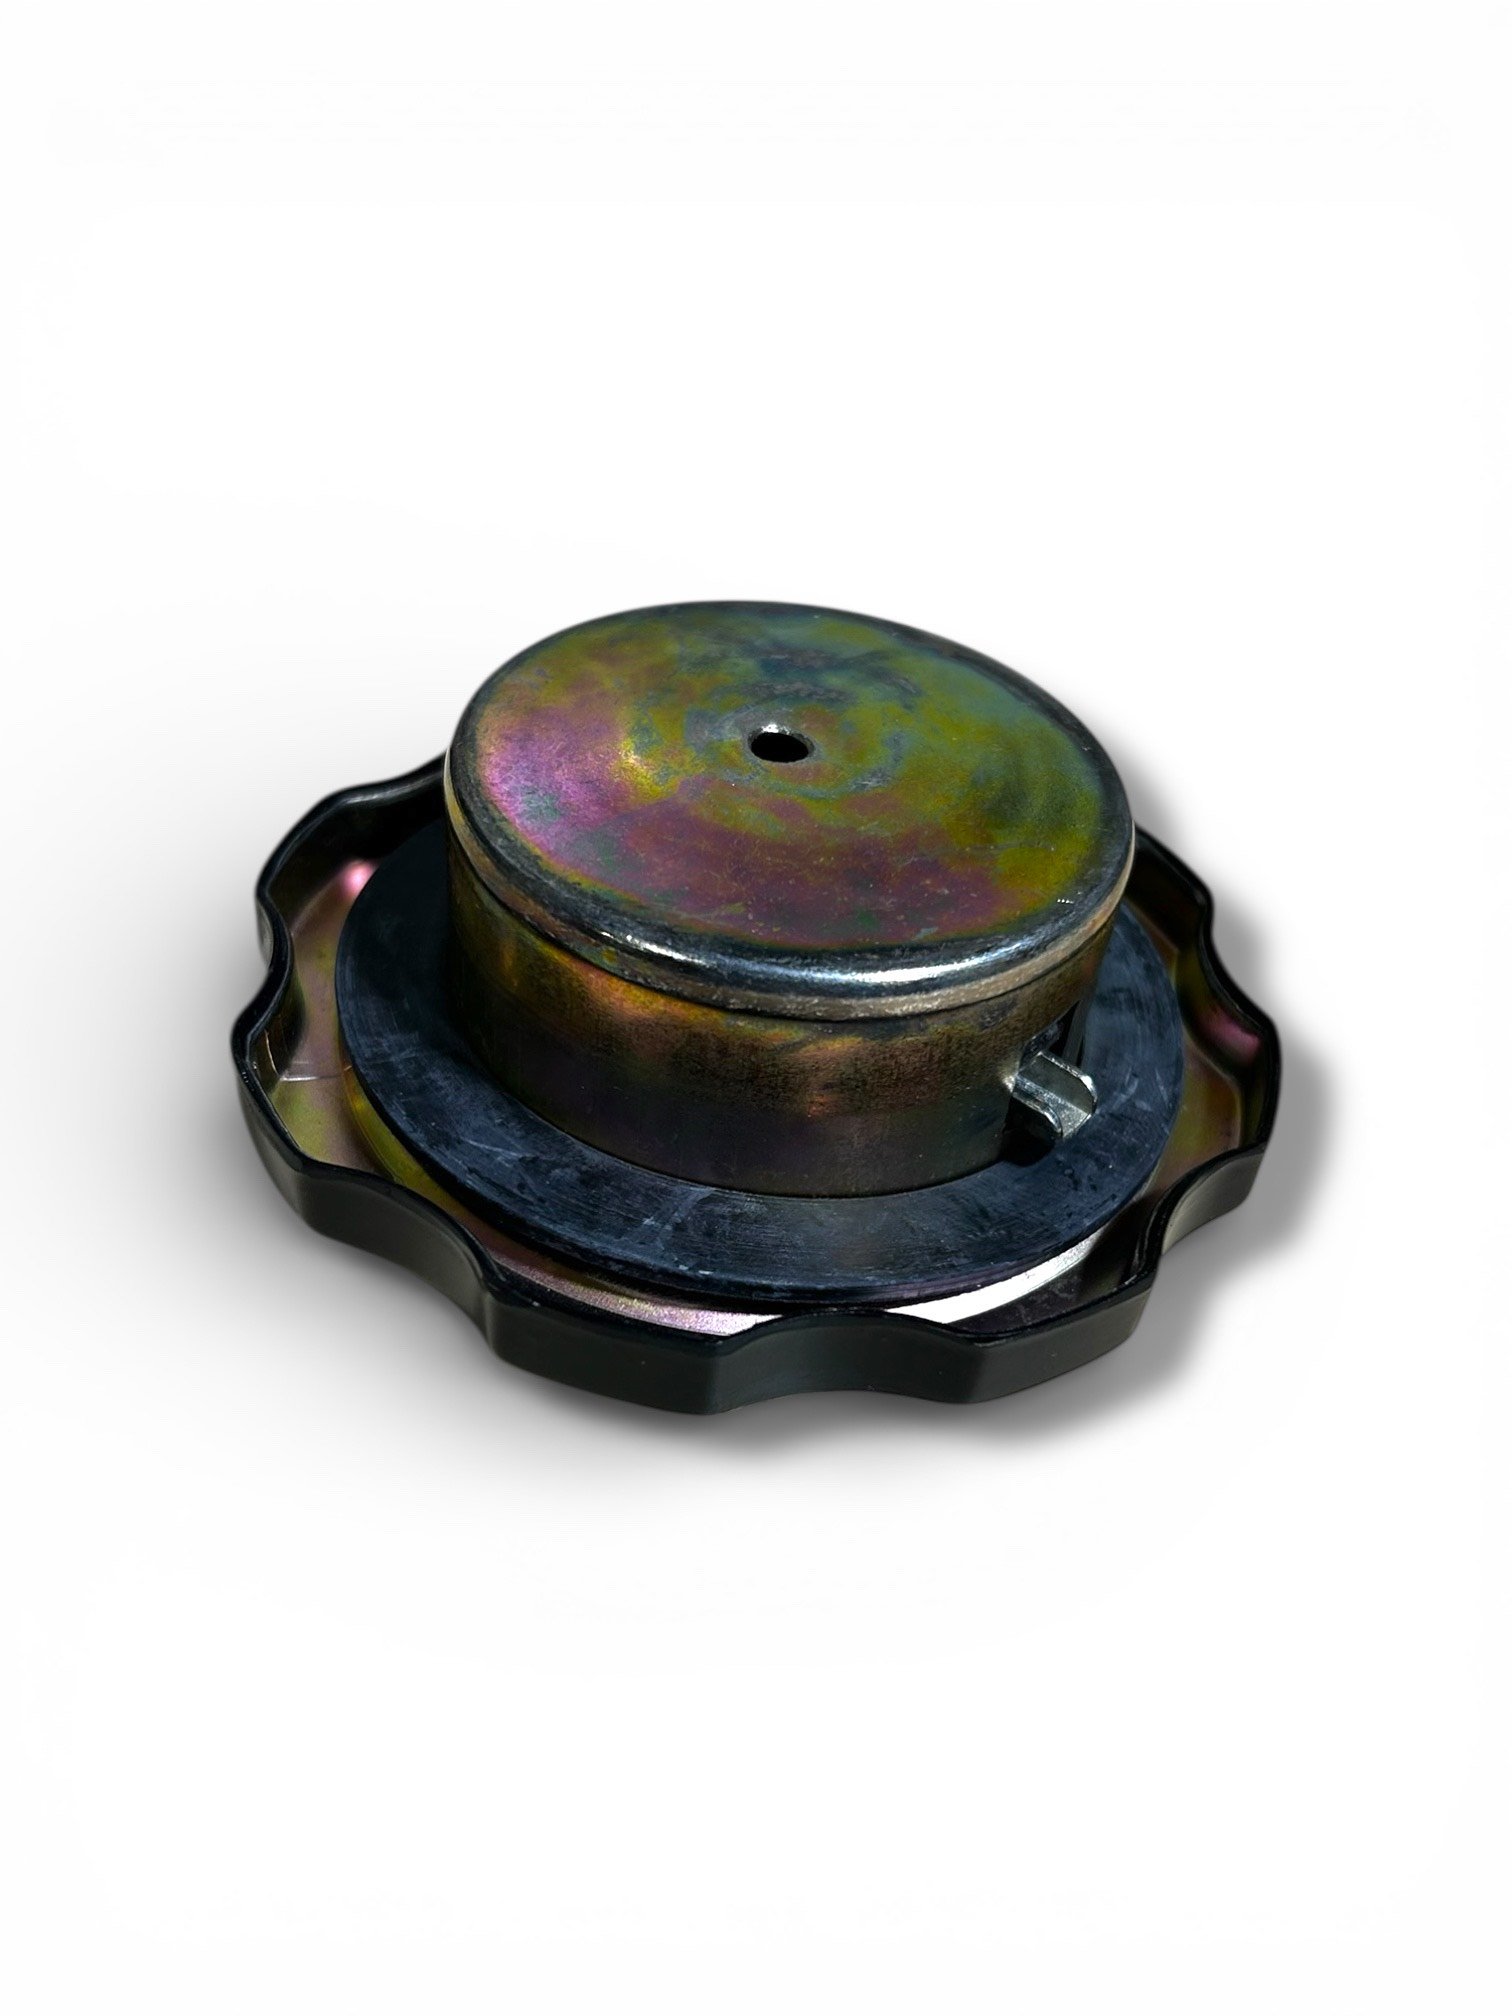
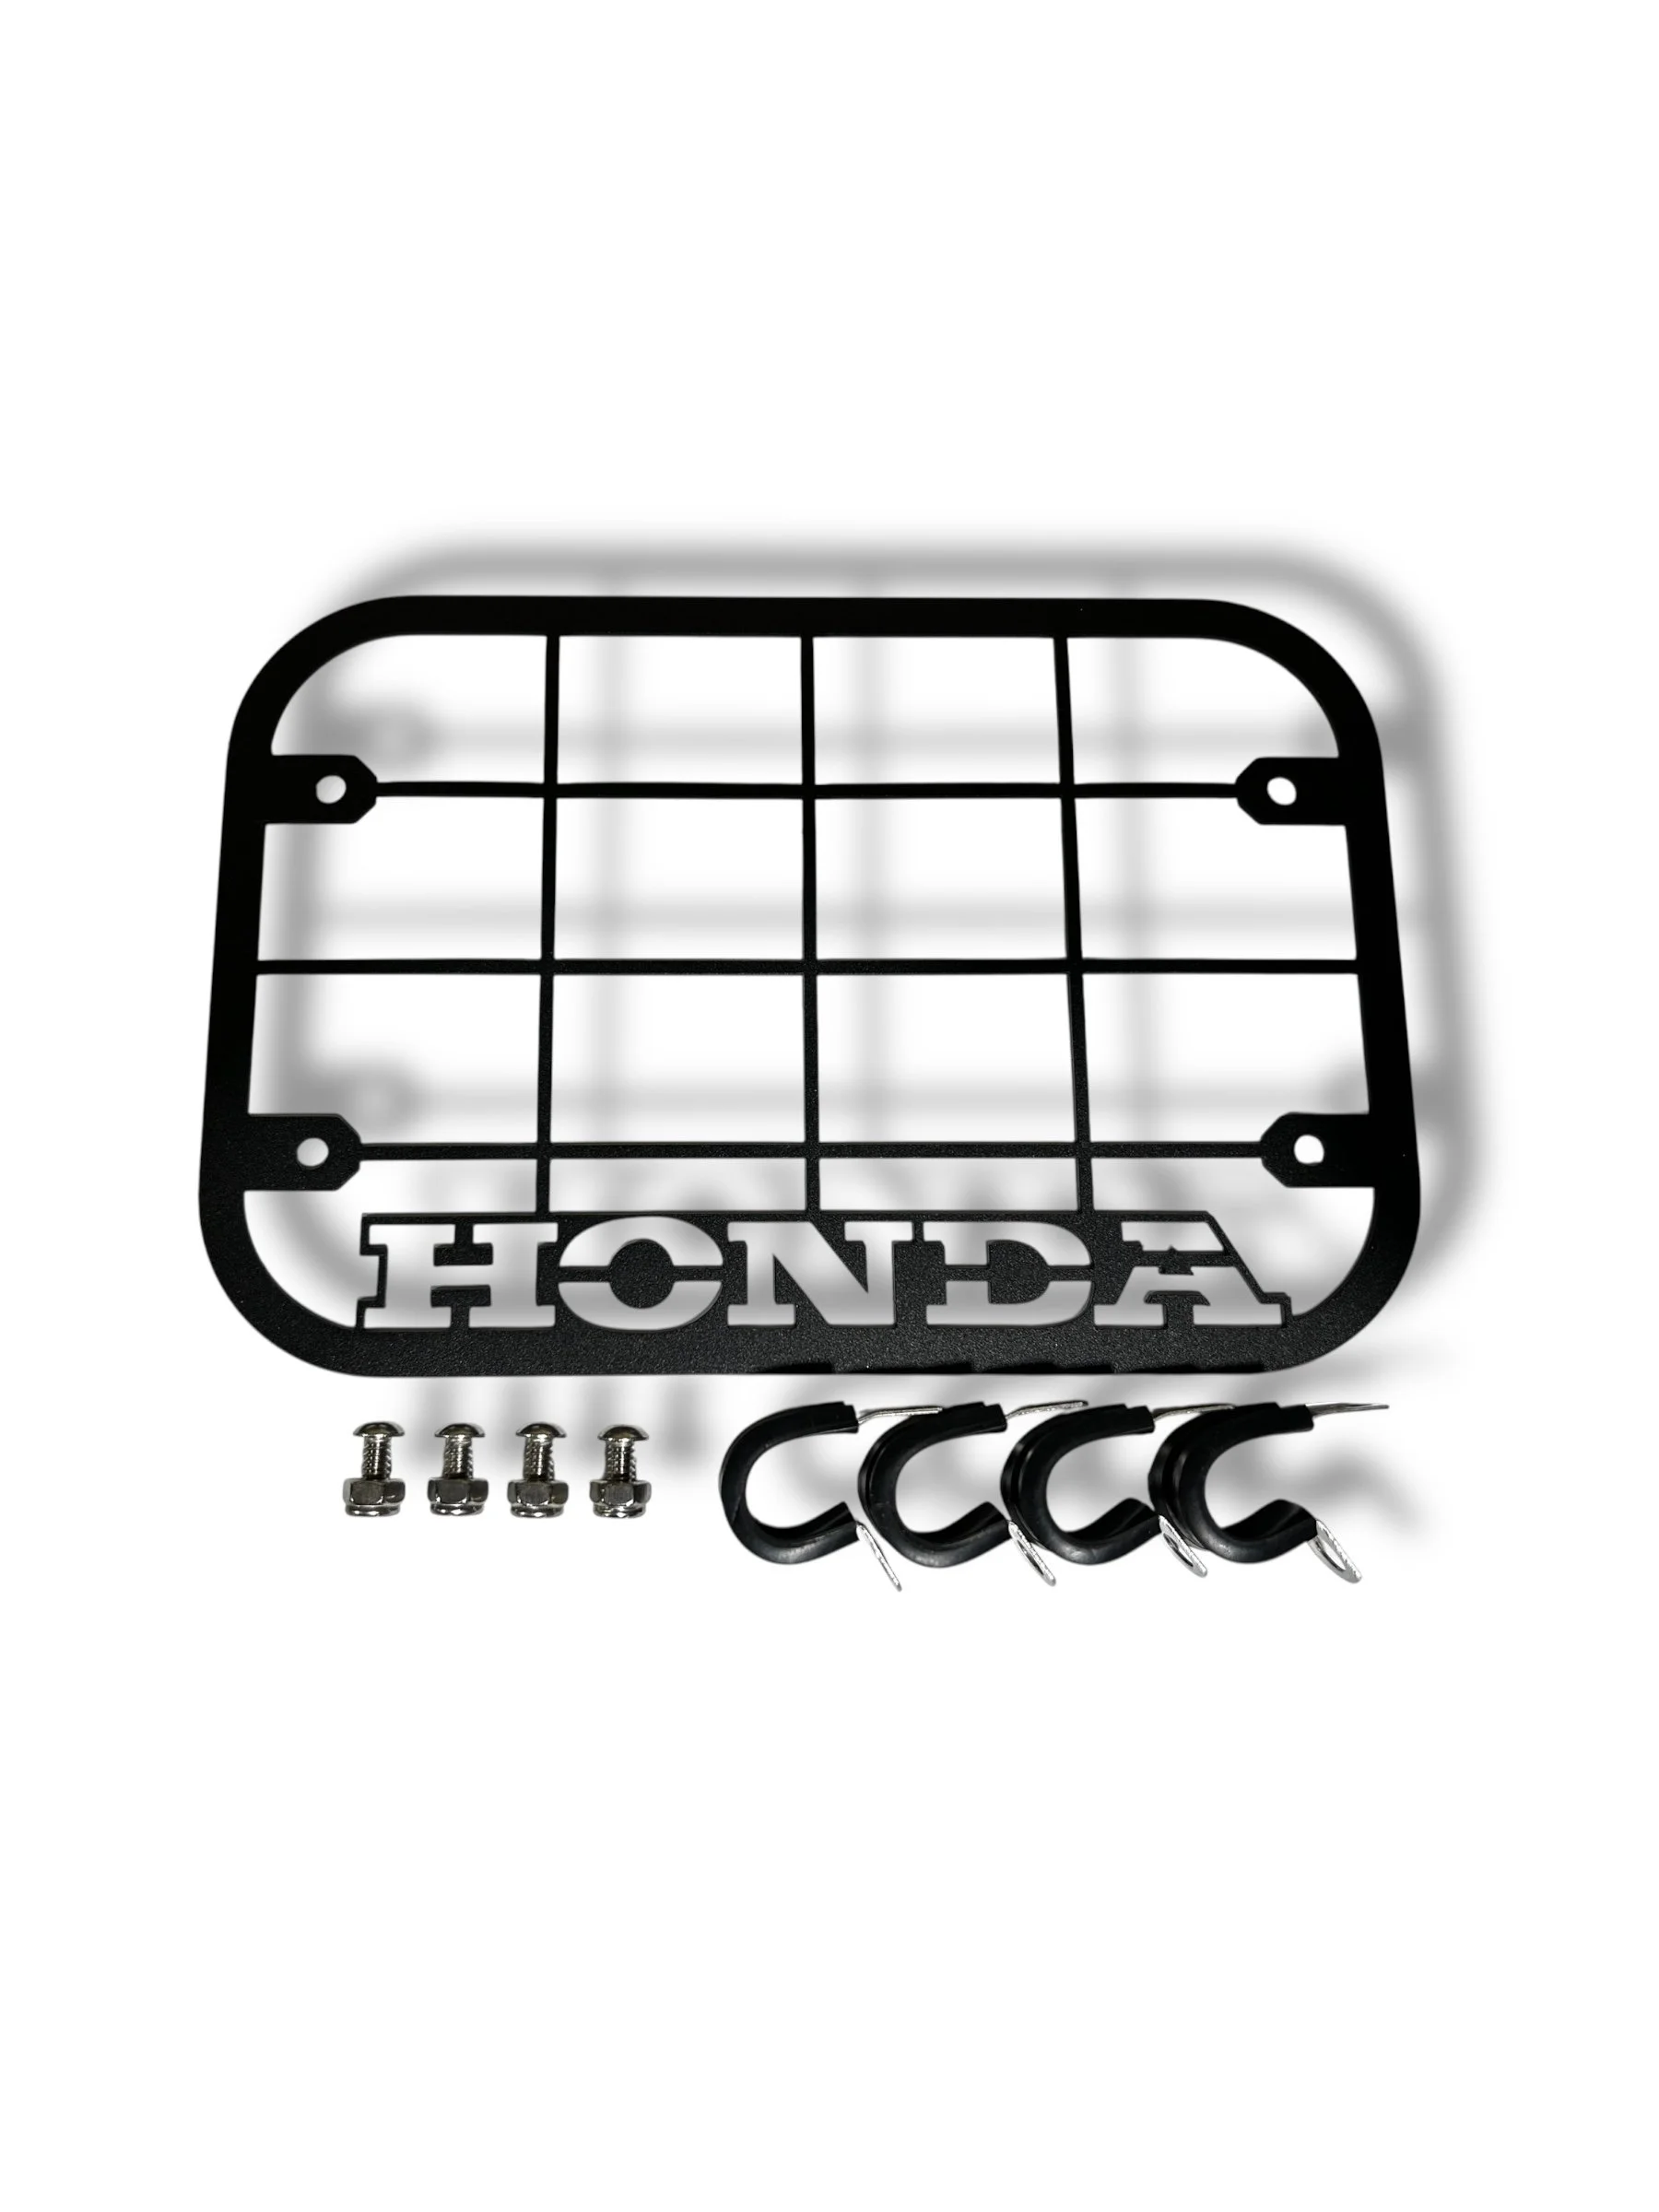
 Image 1 of 12

 Image 2 of 12

 Image 3 of 12

 Image 4 of 12

 Image 5 of 12

 Image 6 of 12

 Image 7 of 12

 Image 8 of 12

 Image 9 of 12

 Image 10 of 12

 Image 11 of 12

 Image 12 of 12


Swamp Outlaw 1984 Honda ATC Big Red 200ES 2" Lift Kit With Front Tube Sleeve Kit
1984 Honda Big Red 200ES
Thank you for using Swamp Outlaw to lift you Big Red! Please read through this before ordering because the 1984 Shaft Drive is slightly more complicated than our other lifts for chain drive machines.
Front Suspension; The front suspension used on the 200E and 200ES is not rebuildable and is typically worn out. The most common option is to swap to 200S front end or sleeve and weld forks in place. Swamp Outlaw does offer a tube sleeve kit to weld front forks in place.
Rear Lift; The 2” rear lift plates requires no extra parts like the 4” lift does. It maintains the factory drive shaft. One corner of the frame will need to be cut off for installation but is otherwise completely bolt in.
Wheels and Tires; This 2” Lift kit will easily fit a 28” tire and is our suggested size to run with this liftWheels and tires are typically the most expensive part of any lifted build. We suggest using a 5+2 offset rim which is most common for aftermarket wheels. This offset will correctly center in the front using our wheel adapters to go from the 4x150 pattern to either 4x110 (Honda) 4x137 (Can-Am) 4x156 (Polaris). See our other listings to order a front adapter. For the rear wheels simply order rear hubs for a 400EX ATV and they will directly replace the hubs on the ATC. Honda Part # 42410-HCO-000.
Front Suspension; The ATC 200E and 200ES front forks almost always are worn out With no available rebuild kits on the market this leave very few options especially for lifting. This is the simplest option we could come up with. This tube fits snug inside the bottom fork and slips over the fork tube. After the ride height is set you weld the tubes in place and they're ready to go. This kit can be used with both the 2” and 4” rear lift from Swamp Outlaw as well as just welding in at stock height to tighten up the worn out forks.
Step 1: Disassemble front suspension and remove all components from lower fork bottom including the plastic slides inside tube and the spring.
Step 2: Clean up top of fork bottoms to prep for welding. Then press the supplied tube into the fork bottom about 3-4”. Make sure to mark on the tube so booths sides are pressed in evenly. These can be welded on the bench at this time.
Step 3: Slide new tubes with welded fork bottoms onto the front forks. Then assembly front tire and hub. Make sure that all 3 tires are making contact with the ground and using the floor jack adjust the front ride height to where you want it. If you're lifting the rear, make sure the rear lift is installed before welding the front in place. Clean off paint/chrome on the forks where the weld will be. Once everything is in place, tack in several places and finish welding. Make sure to leave the front hub and wheel bolted tightly in place to hold fork ends from moving during welding. At this point the install is complete and you're ready for paint.
